MATERIALS TO ERECT SIGN:
- 2 – 16′ treated 6×6 treated posts
- (4-5’ in the ground and 5’ above the ground to the bottom of the poster)
- Posts need to be 13’ apart center to center and need to be tamped with rock or sackrete
- 5/8”x12” bolts – To attach Billboard to Post
MATERIALS TO BUILD SIGN:
- 4 – 2”x4”x14’ (treated)
- 3 – sheets 4’x8’x3/4” Advantek (plywood) tongue and groove
- 3” drywall screws
- 2” drywall screws
Instructions
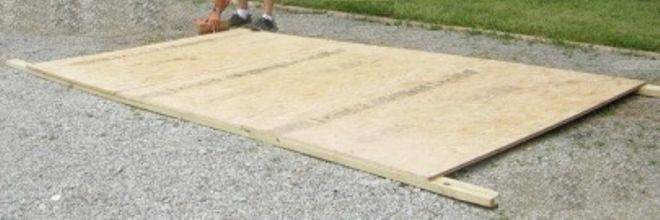
Place 14’ 2×4’s on reasonable level ground
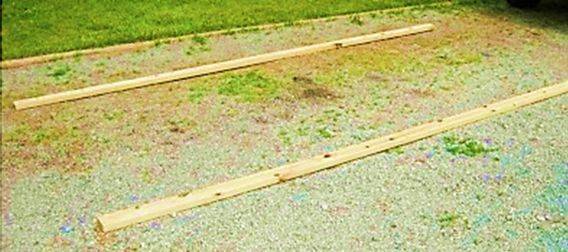
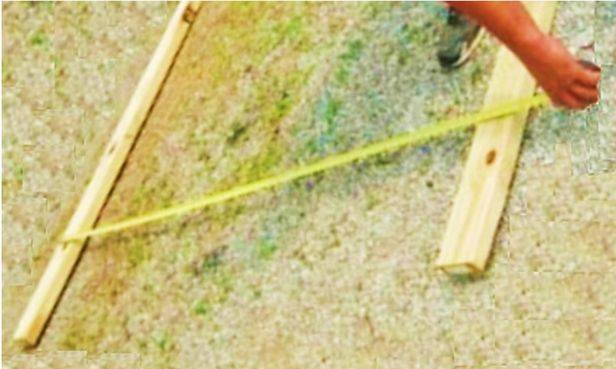
Space 79” top to bottom. This will give 6’ inside 2×4’s
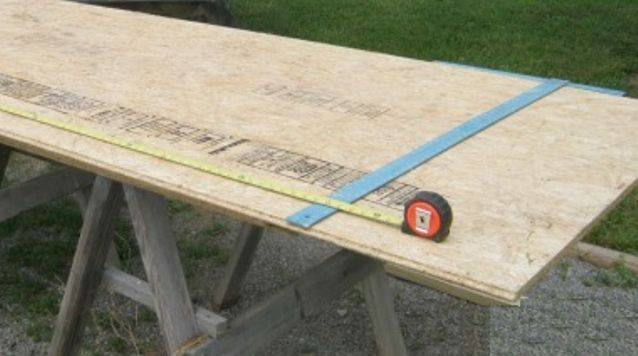
Cut 4’x8’ plywood to 79” long

Measure 13” from the end of 2×4 and mark measurement.
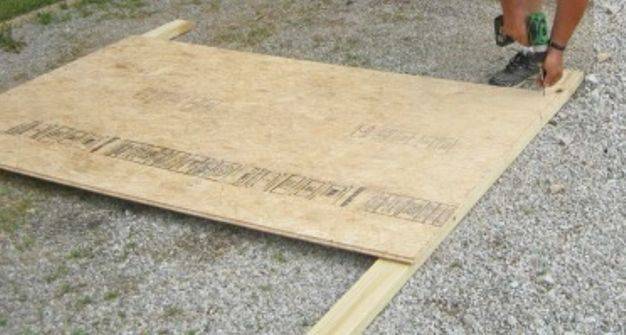
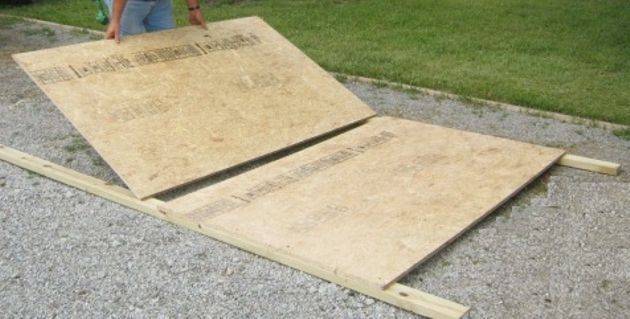
Lay plywood with male end of tongue and groove to the outside and
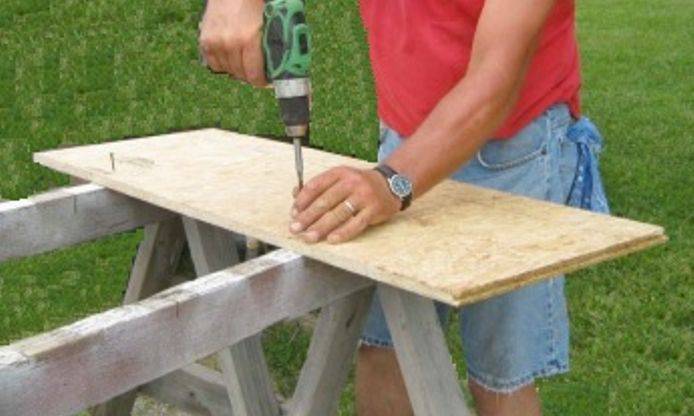
Secure to 2×4 top and bottom; keeping 2×4 straight with the edge of the plywood.
Use 2” drywall screws. Fasten approximately 2/3 of the plywood.
This will allow a little slack to start 2nd sheet of plywood into tongue and groove.
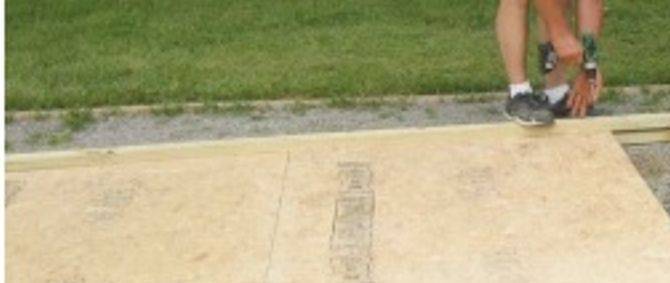
Start second sheet of plywood. Make sure groove is clean and not damaged.
Once tongue and groove are started, take a board, hammer, and drive plywood uptight.
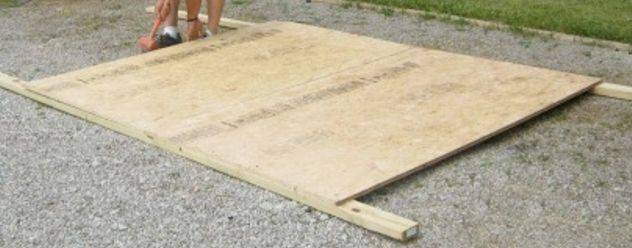
Secure with 2” drywall screws, keeping 2×4 even with the edge of the plywood.
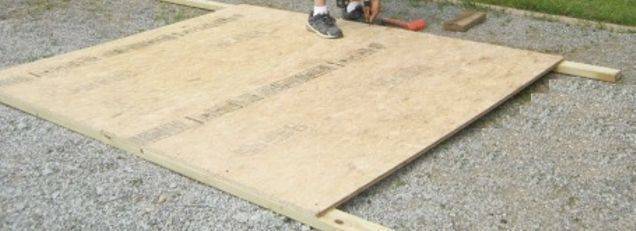
Start third sheet of plywood. Make sure groove is clean and not damaged.
Secure with 2” drywall screws, keeping 2×4 even with edge of plywood. Note: 2” screws should be approximately 12” apart.
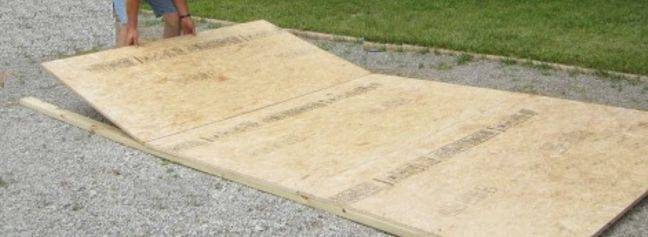
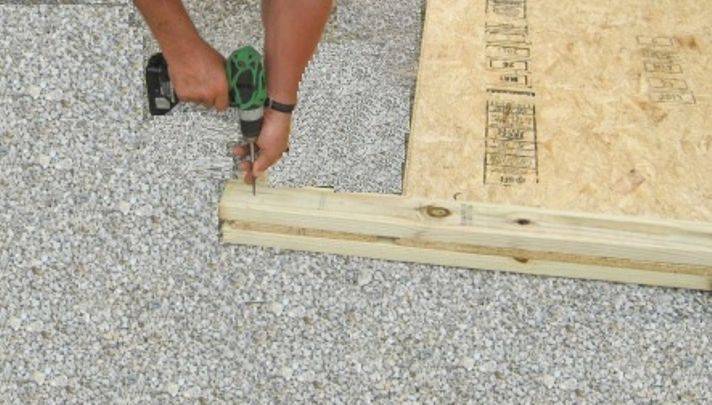
Now place 2×4 on top of lower 2×4 keeping straight with the plywood.
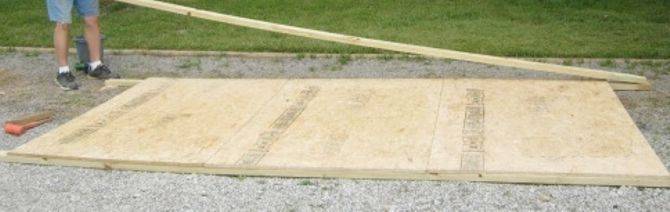
Use 3” screws approximately 1” apart. Note: A crooked 2×4 can easily be moved sideways and straightened as screws are put in.
Attach the second 2×4 on the other side; same procedure as above.
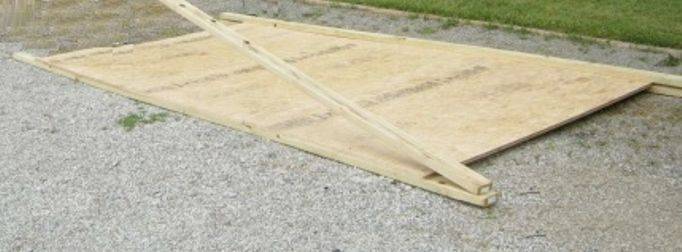
Now the overhanging 2×4 will need a plywood spacer for securing to post later.
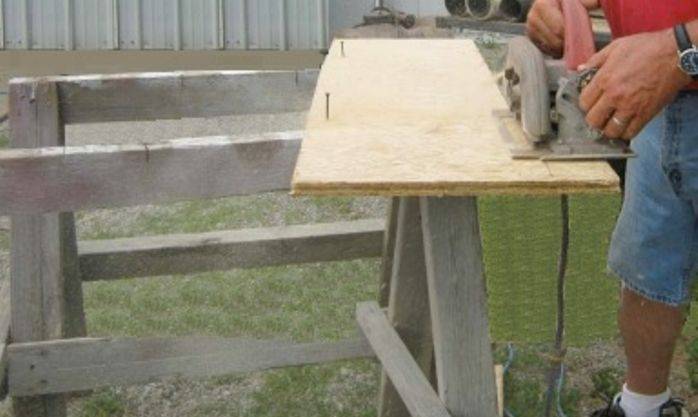
Screw a scrap piece of plywood to the sawhorse. This will serve for sawing.
Mark 3 ½” the length of scrap plywood.
Make cross cuts at 1” intervals, then rip the 3 ½” cut.
This will give you (4) 3 ½” by 12” spacers.
Place the spacers at the end of the 2×4 and use 3” screws to secure at each end; leaving the middle for drilling a hole to secure 6×6 post later.
IN GENERAL:
The measurements used will give a 6’x12’ plywood surface for the poster. The vinyl posters we use come folded and will have wrinkles. Several people are needed to stretch vinyl, especially in cold weather. We usually staple vinyl around the edges 5”-6” apart, and heavier at the corners. You may want to add some kind of strips around the outside edge. We have taken a treated 2×4 and ripped it into ½”-3/4” strips. This works ok, but you may have other ideas or only use staples. The plywood holds up well in weather and we do no paint ours.
Make sure to call BUD (Before U Dig) to locate any underground utilities.